I received a few questions about how I made garland, so I thought I'd show y'all my step-by-step process.
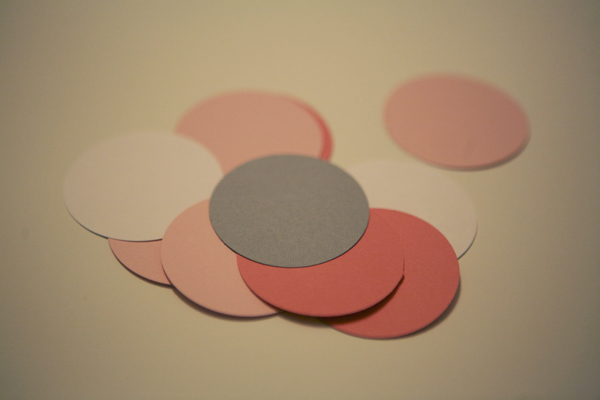
Step 1: You'll need card stock and a round hole punch (mine makes 2" circles). Punch out lots of circles in the colors that you wish to use.
Step 2: Line up the circles in the order that you want to sew them. I chose to go with a specific pattern, but if you're using more than 4 or 5 colors it may look better to have them randomly scattered with a more unexpected placement.
Step 3: Stack your circles in the same order you lined them up in.
Step 4: Feed the circles (one at a time) through your sewing machine so that you sew through the center of the circle. Each circle goes directly behind the other with edges touching but not overlapping. The machine will automatically feed the next circle through (as long as you keep the edges in contact with one another).
Step 5: Hang your garland and enjoy!
So easy, right? A very inexpensive way to decorating for the holidays or a special event. And what's even better is that you can save it and reuse time and time again. I hope this helped clear up any questions that you had about how I made my garland. If you have any other questions, feel free to email me.


6 comments:
Thanks Anna! So easy!
I love this DIY! I wish I was crafty enough to pull it off, but for now I'm just admiring yours. I really like the colors you chose. So fun for any celebration or just something for everday. Great job!
I just recently made these for a party (a fiesta, to be exact) and they were such a hit! So simple + fun!
♡ Lexi
FASHION: Glitter & Pearls
WEDDINGS: Glitter Weddings
What a great idea! Love these for a party idea as decor!
xo Lynzy
I cant wait to see the rest of the partay!
Beautiful garland! So creative, amazing job!
Post a Comment